
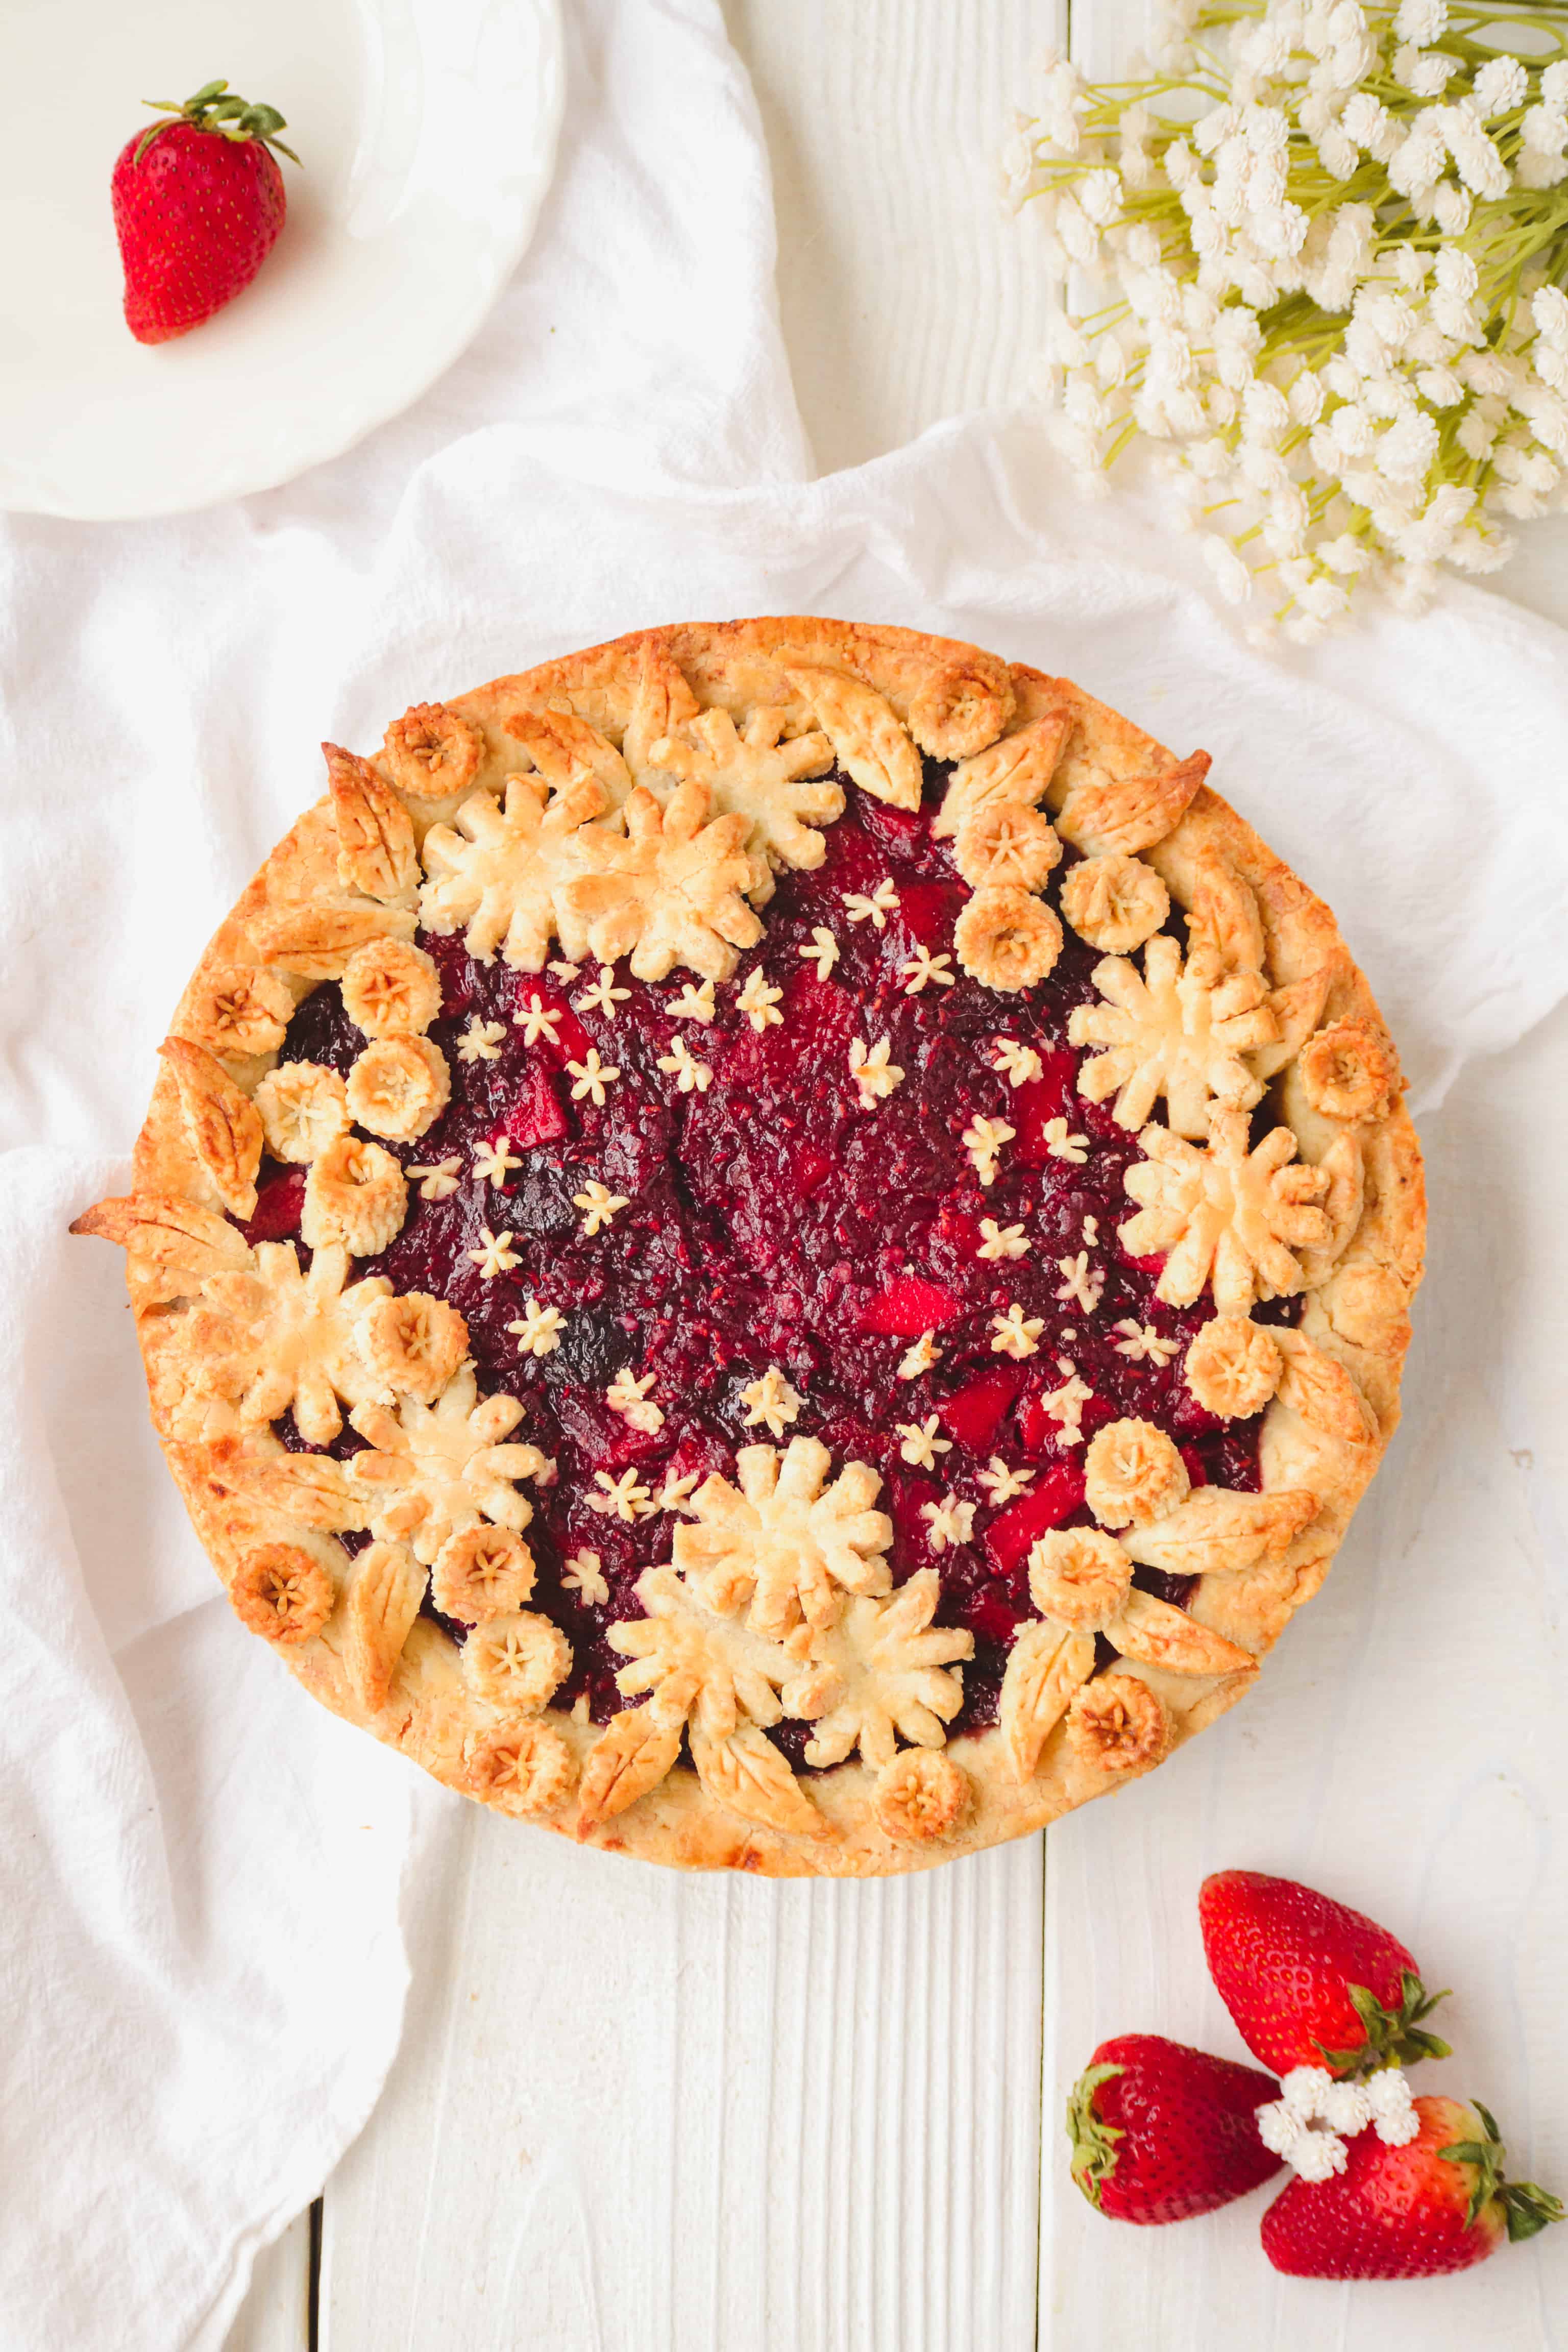
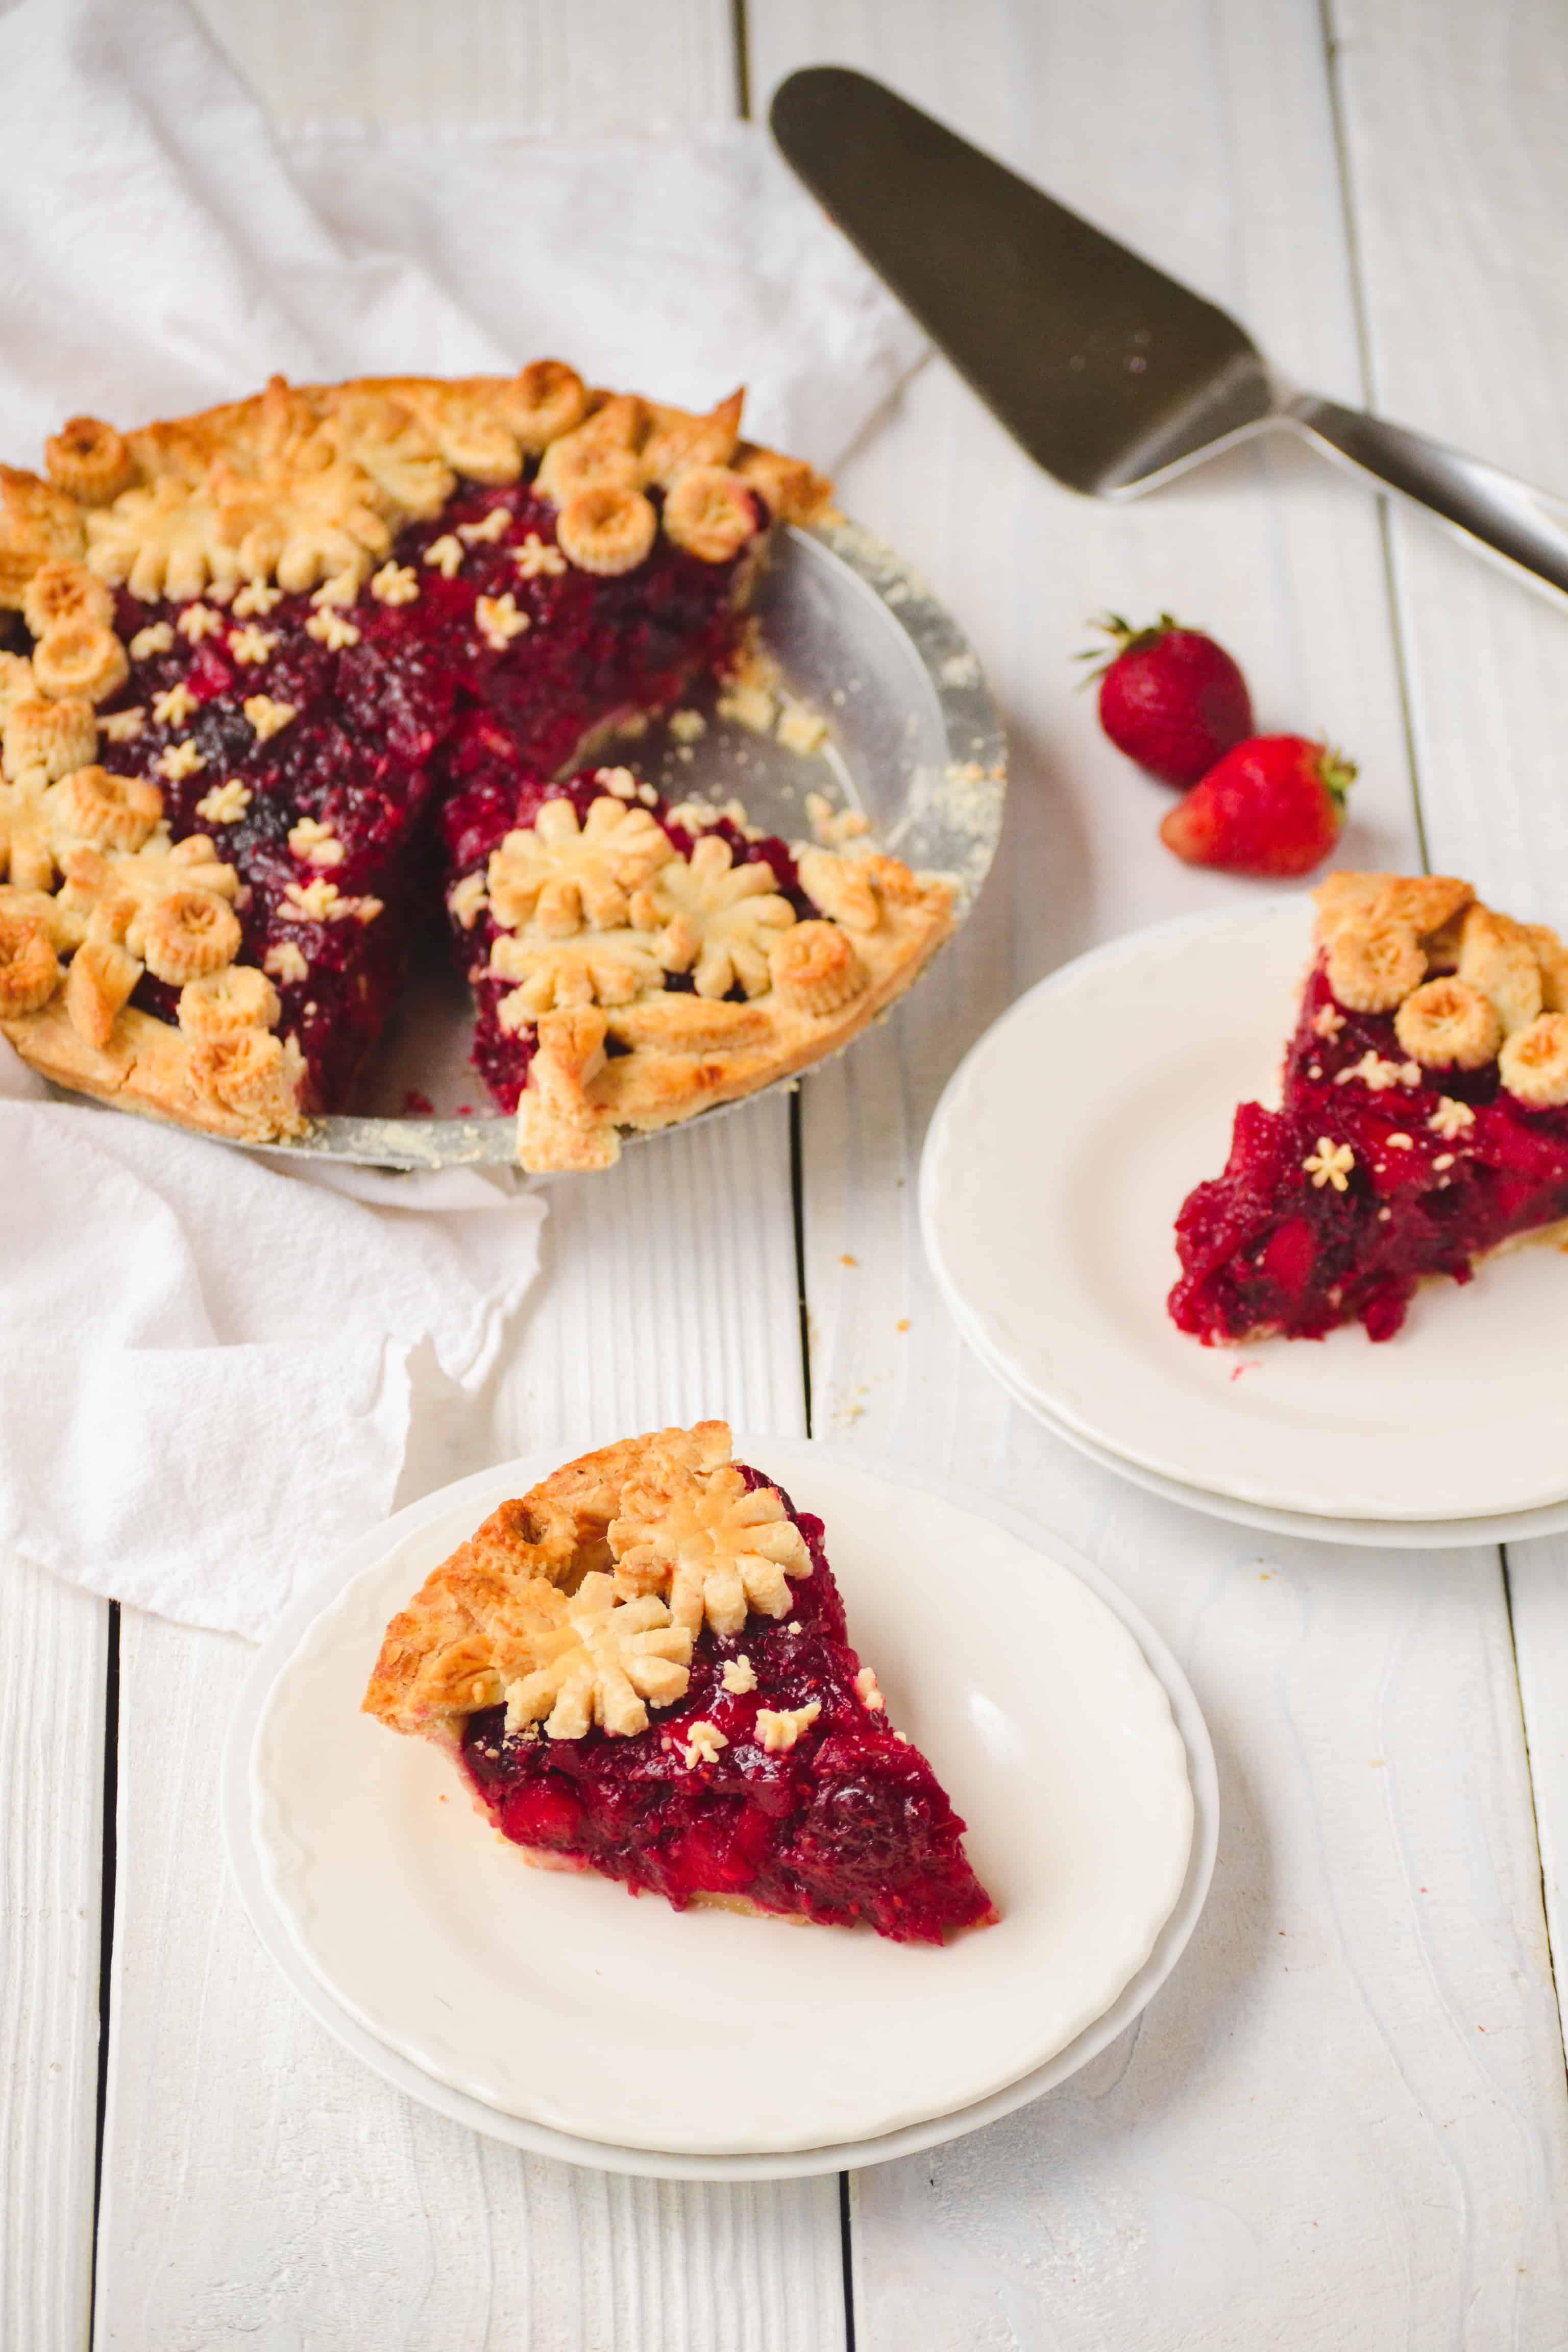
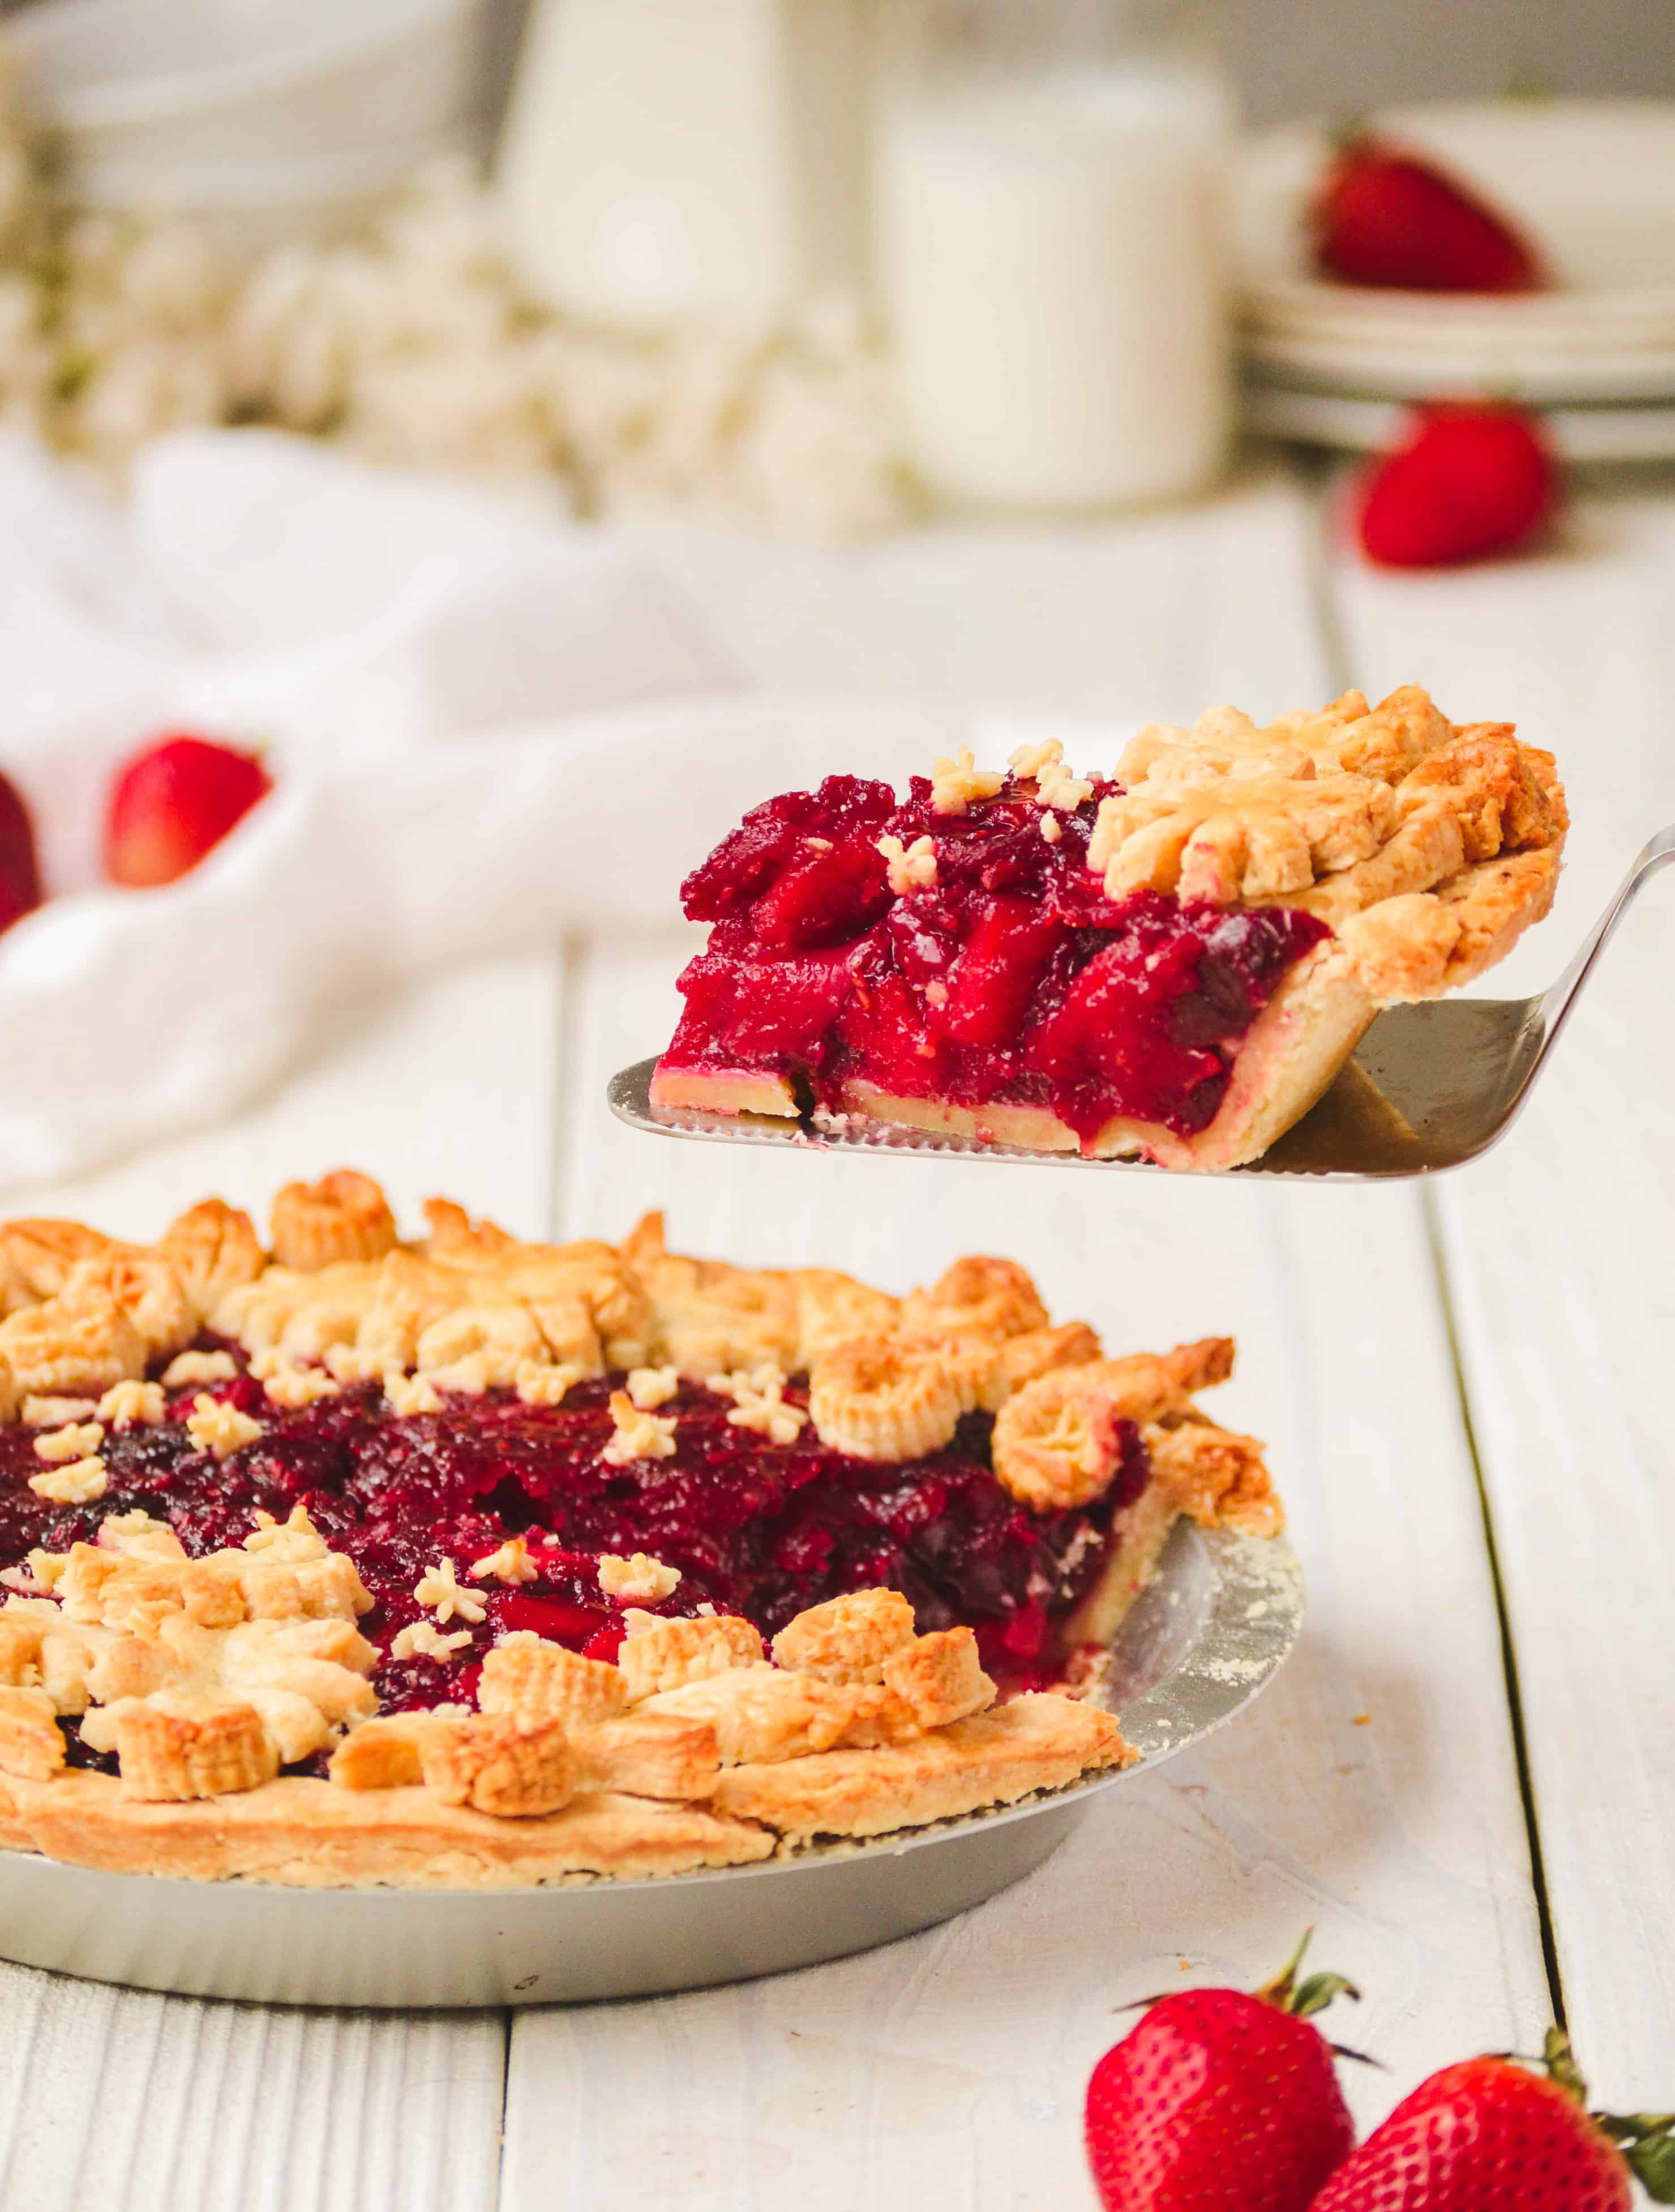
Spring is here and summer is coming, which means all my favorite berries and fruits are coming into season! This Spring Berry Pie screams spring and is filled with fresh raspberries, cherries, strawberries, and apples all nestled inside a perfect flaky buttery tender crust. This Spring Berry Pie is simple, sweet, easy, and delicious! This pie will look amazing on your spring table.
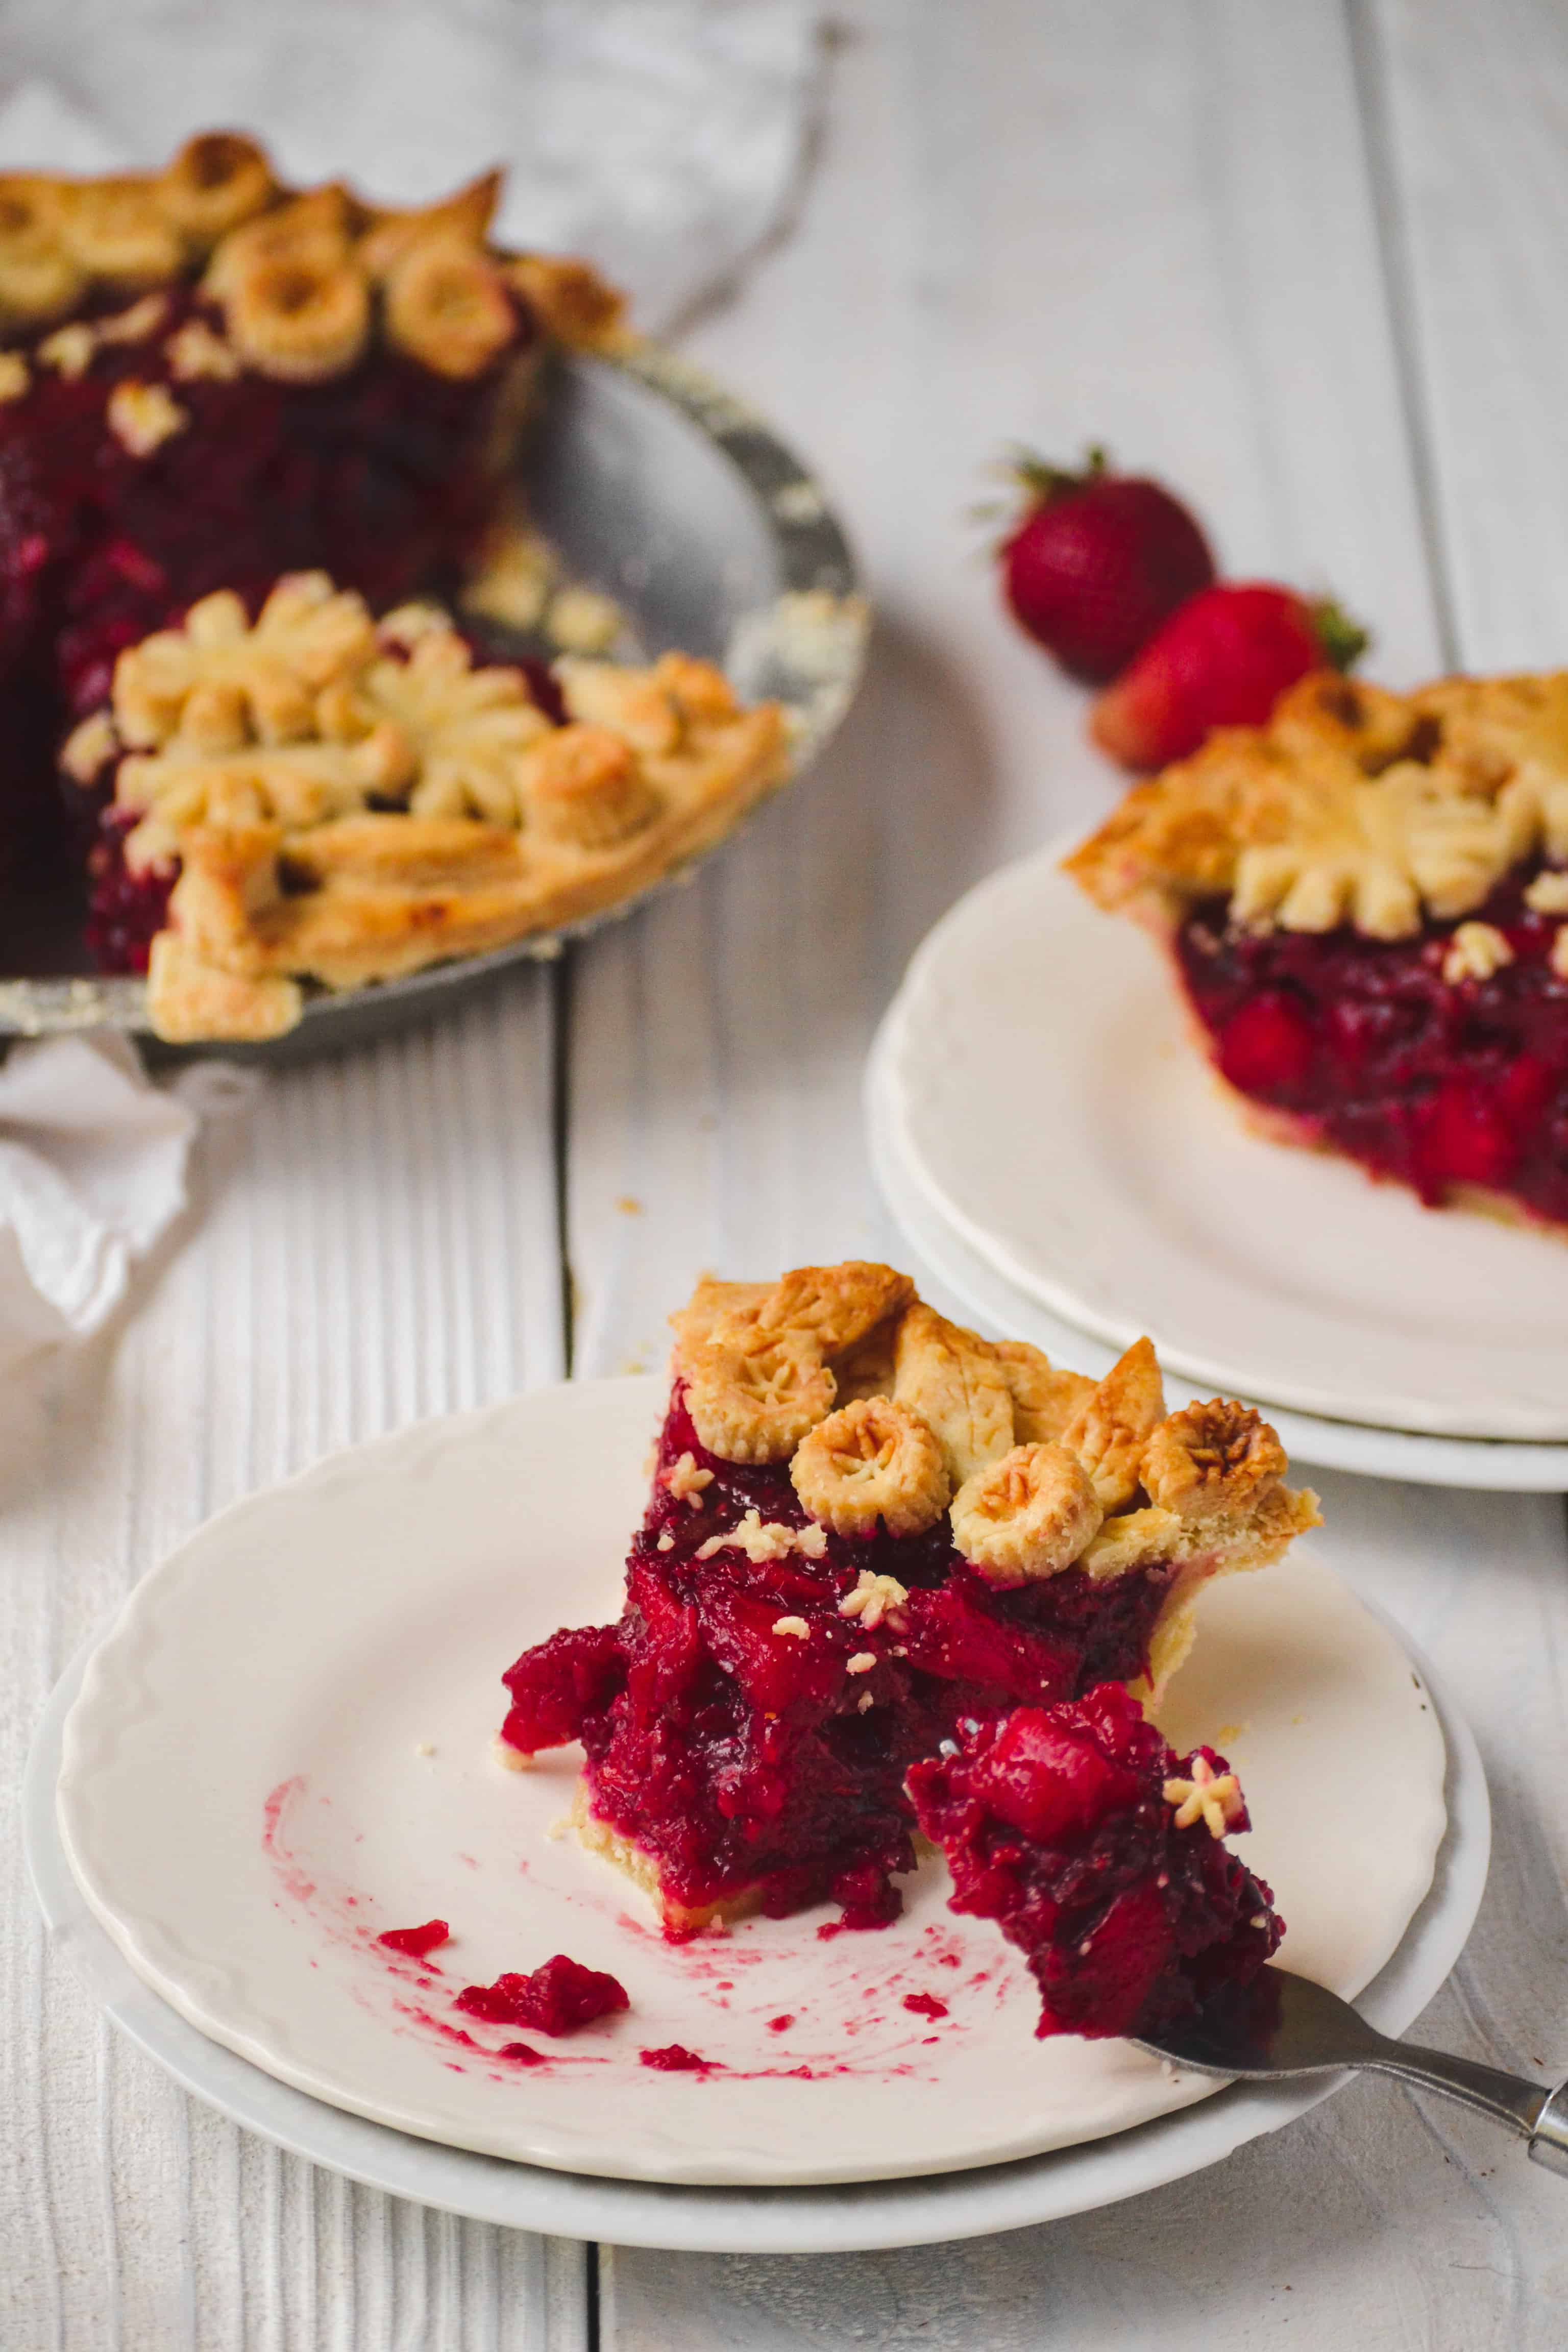
So I don’t know about you but when I think about spring I think of warm weather, birds chirping, and a freshly baked pie in the oven! OK that actually never happens but I can imagine that right? So I wanted to kick off spring with one of my favorite pie recipes: this delicious Spring Berry Pie!
I always get so excited when I see the first bag of fresh cherries or raspberries in the grocery store! It's a sign that warm weather is officially here. So when I was at the store last week, I saw these beautiful fresh red cherries and knew I had to make something out of them. Something that really highlights the berries...and what is more homey and loving than a pie right?
HOW TO MAKE THE PIE FILLING
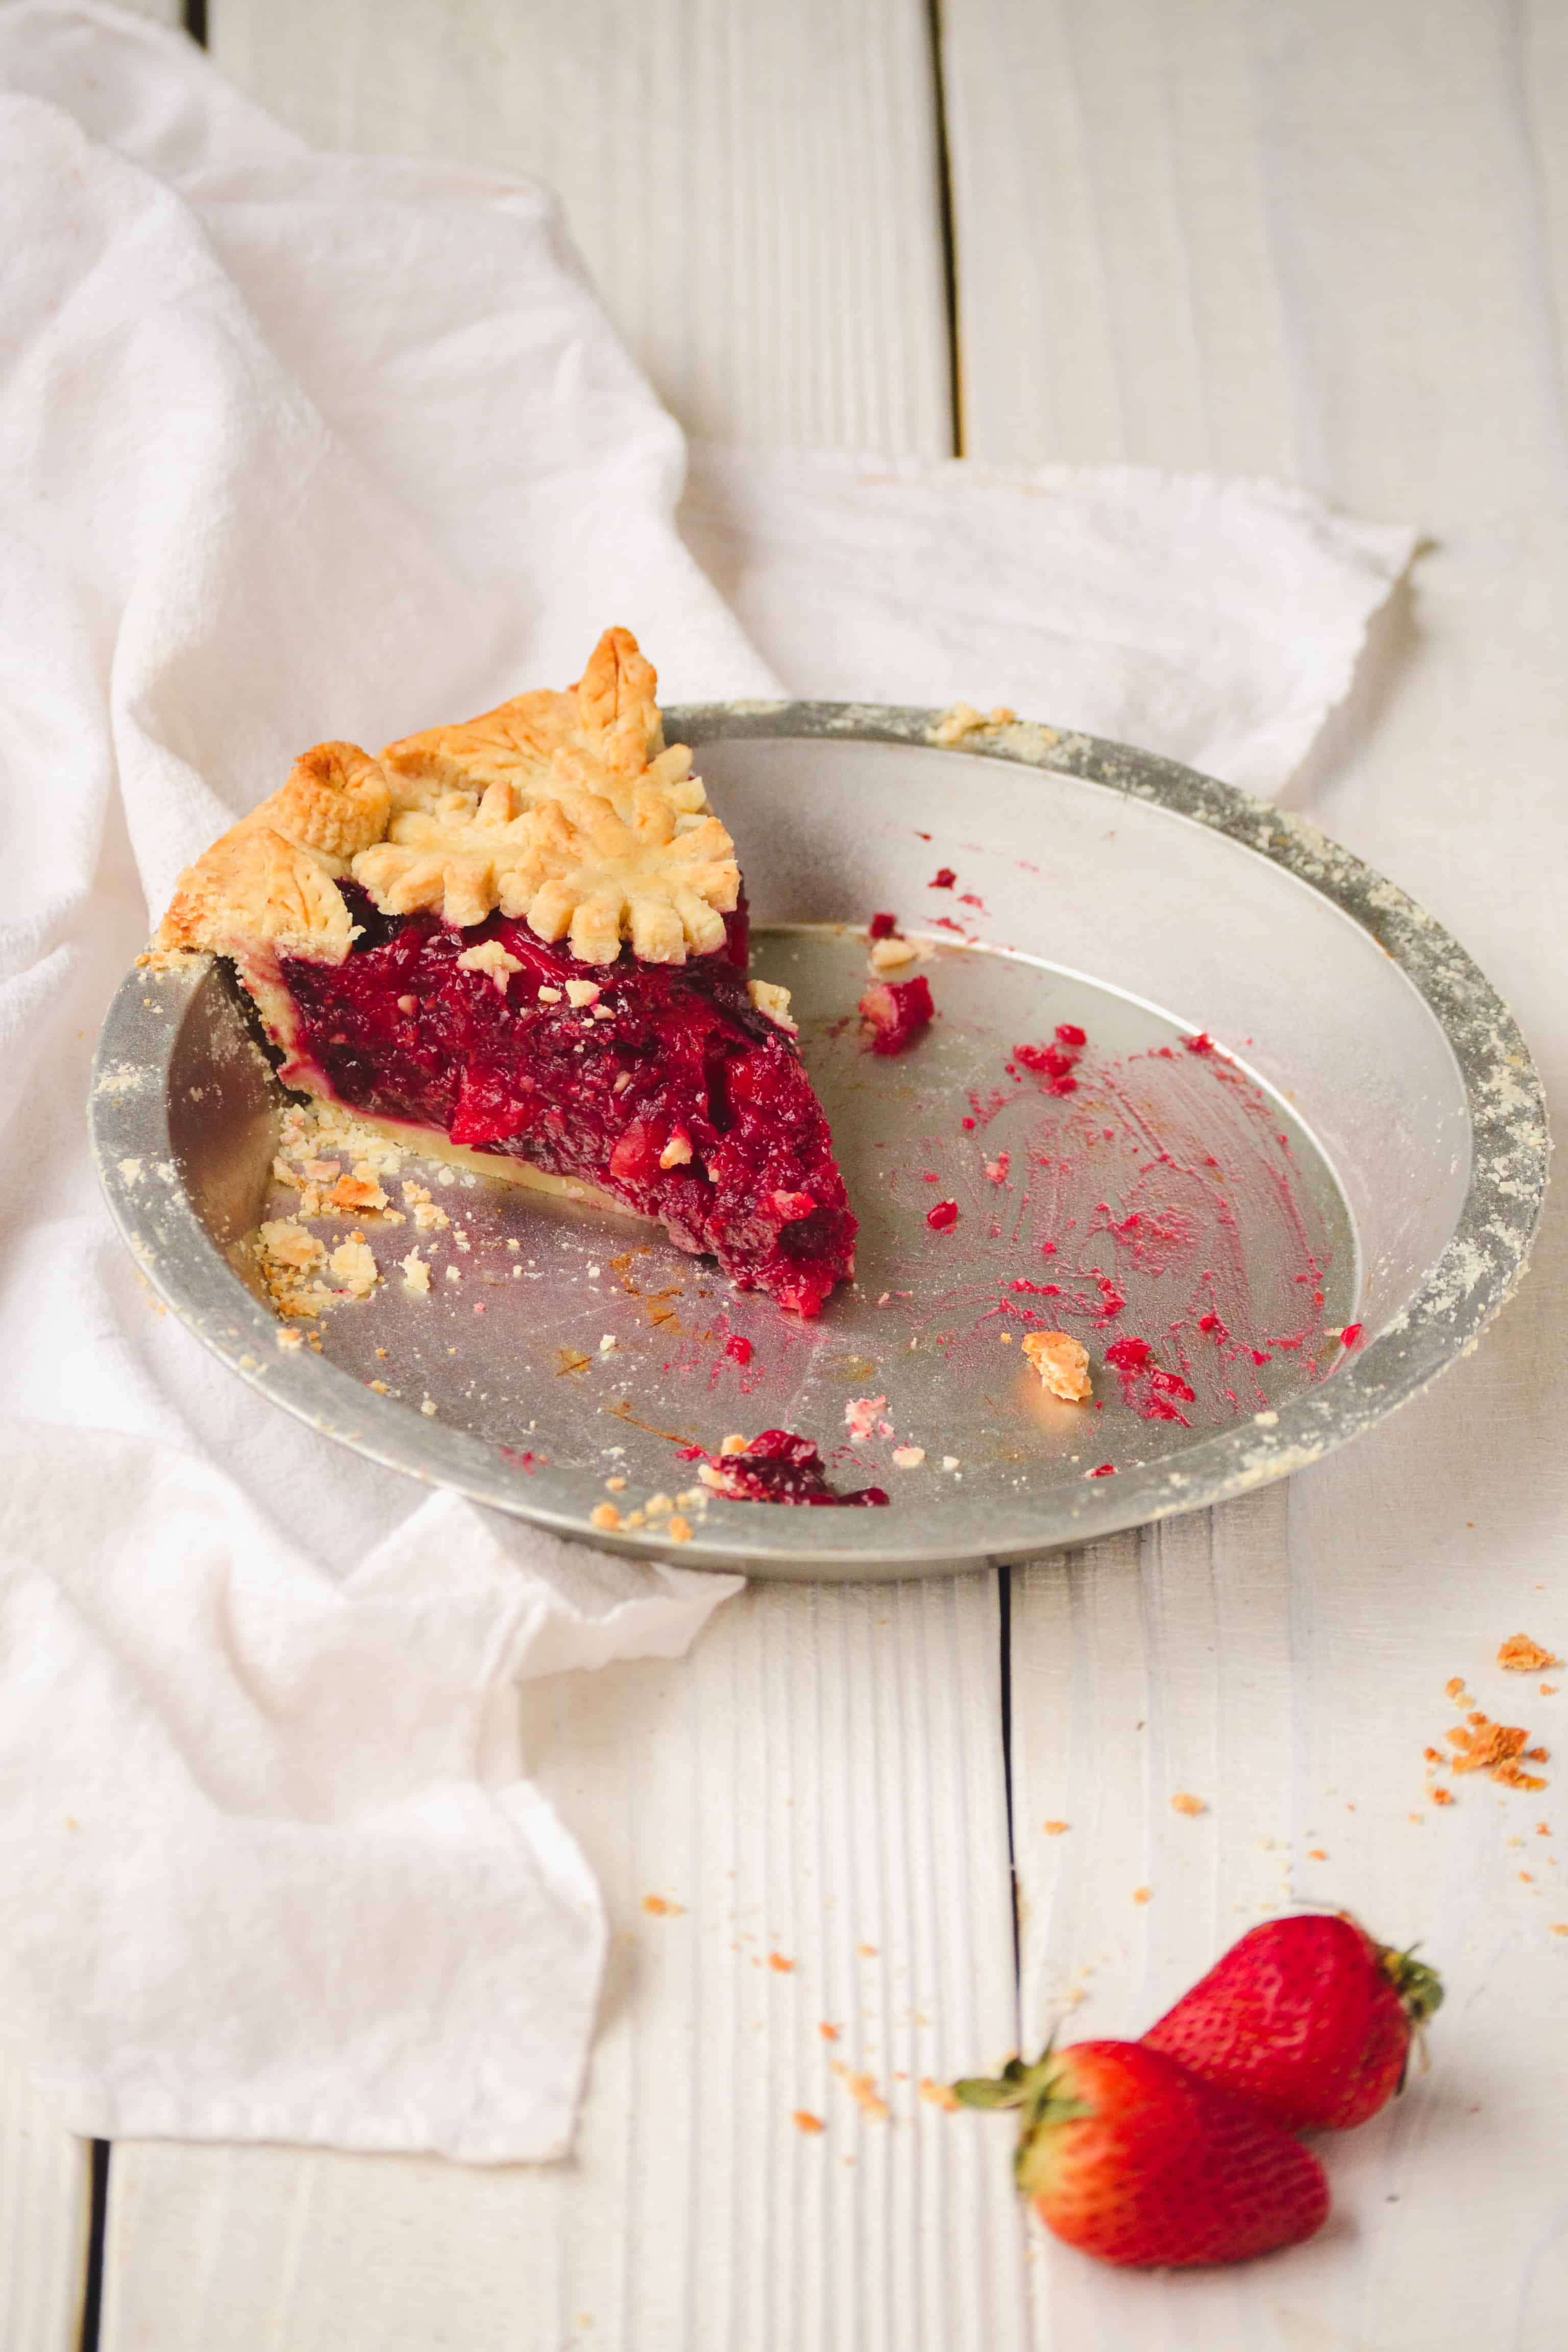
So the filling of this pie is pretty simple. Just start by dicing up your fruits. I use raspberries, cherries, strawberries and apples. I first made this pie without the apples and it was delicious too but everything had the same kind of mushy texture, so I decided to add some apples to it. This gave the pie that little extra bite and crunch that I think it really needed! Add all of your fruit to the sauce pan with the sugar and lemon zest (the lemon zest just really brightens up the flavors). Simmer for only a few minutes (maybe 5) until the juices start to come out. Do not over cook or they will be too mushy. Separate the juice from the pan and then whisk in the cornstarch. This will help thicken your filling so it is a very important step! Add that back to your pan and melt in your butter and salt and you are done. The butter makes the filling creamy and soft! Add the filling into your raw pie crust and bake!
HOW TO MAKE THE PERFECT FLAKY PIE CRUST
- Use butter and shortening to get a super flaky pie crust.
- The vinegar makes for a more tender crust.
- Make sure your butter is COLD. This helps for a more flaky pie crust.
- Do not over mix your dough. This will create a tough dough. Just mix until the dough is combined evenly throughout.
- Finish your crust with an egg wash for a golden color.
- Use a fork to poke holes in the bottom of your crust, so it doesn’t puff up.
- Use pie weights when baking, so that your crust does not sink while baking.
Lastly, if you try out this Spring Berry Pie recipe, be sure to leave a comment/rating on how they turned out. I love hearing from you guys and will try my best to reply to every comment! And don’t forget to tag me on Instagram!
Spring Berry Pie
Ingredients
Pie Crust
- 3 cup flour
- 1 teaspoon salt
- ¾ cup vegtable shortening
- ¾ cup salted butter
- 1 egg
- 1 tablespoon white vinegar
- 3-5 tablespoon cold water
Filling
- 1 cup raspberries
- 2 cups halved strawberries
- 2 cups halved cherries (pitted)
- 2 cups diced and peeled apples (about 1 inch cubes)
- 1 ½ cups sugar
- zest of 5 lemons
- ½ teaspoon salt
- 2 tablespoon cornstarch
- 6 tablespoon butter
Instructions
Pie Crust
- In a large bowl combine your flour and salt.
- Using a pastry cutter, cut in your diced butter and shortening.
- Mix in your egg and vinegar.
- Add just enough cold water to combine your dough.
- Knead your dough with your hands until your dough is combined.
- Cut your dough in half. Place both balls of dough in plastic wrap and let it rest in the fridge for about 4 hours or over night.
- Using a rolling pin roll out one of your balls of dough to about ½ inch thick and place in pie dish. Trim off excess edges.
- Using the second ball of dough, roll it out and use cookie cutters to cut out shapes of your choice. Put aside.
Filling
- In a medium sauce pan place all your fruit, sugar, and lemon zest. Simmer on medium low heat for about 5- 10 minutes (just until the juices start to separate from the fruit).
- Take pan off the heat. Using a spoon, scoop out the juice from the pan and place in a separate bowl (leaving the fruit behind).
- Into your juice whisk in your corn starch and salt until you see no more clumps.
- Add juice mixture and diced up butter back to the fruit. Simmer on low heat for about 5 minutes or until the butter is melted.
- Add mixture into raw pie crust. Take your cut out pie crust pieces and place them along the edge of your pie crust for decoration.
- Using an extra egg, place an egg wash on the top of your crust design.
- Bake your pie at 400 degrees for 20 minutes. Then without opening up the oven lower your temperature to 375 and continue to bake for 40 minutes.
- Take out and let cool for a few hours before serving.
Portal News
It certainly does take quite some time to find fantastic information such as this. Thank you very much.